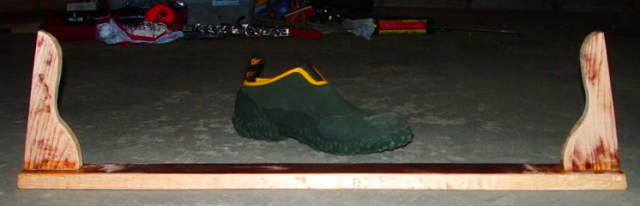
The center (and only) frame, was made up from from red oak scrounged from a dumpster at the senior center where my parents had recently taken up residence:
The building contractors discarded an entire, very large, dumpster of beautiful clear red oak. (....well, lets just say not all of that oak made it to the landfill!!!). The red oak, being extemely porous (and hence rot-prone) was sealed in epoxy.
The center frame was mounted upside down on a backbone of heavy cross-braced (ie stable and immovable) 2x stock, clamped to sawhorses:
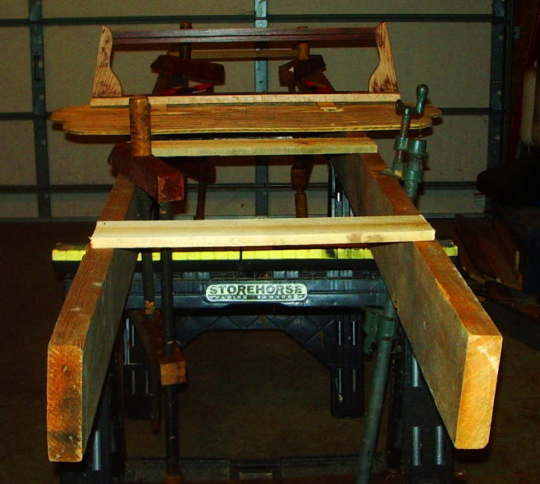
Plywood pads (old bus seat bases) spanned the backbone under the center frame, bow, and stern transoms which could then be leveled and trued up. A chalkline and laser (old and new tech, which actually agreed!), were used to set the centerline and place center frame and transoms perpendicular to it laterally.
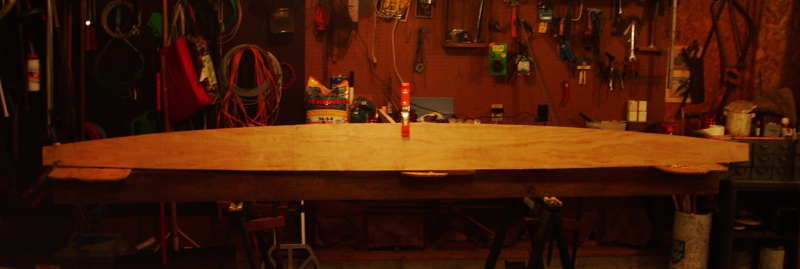
Once wrapped around the forms to give it the 10 degree flare, the gunwale is straight fore-and-aft, so it can rest on the trued-up and leveled plywood pads (remember the boat is being built upside down). An instant boat can go together without the trued-up backbone, but I've found it makes life easier and prevents mistakes:
For sides, I used the "finest" (ahem) "select" pine from the local discount lumber yard (Menards). It wasn't too bad actually, at least the pieces I ended up with after picking through the entire pile. I laid out my developed panels:

That curve is the bottom edge of the skiff, with all its rocker. The pine was standard 1-by, and the 3/4 inch thickness proved a little challenging to bend in. I chose to keep the thickness rather than spend the time rounding up a thickness planer.....felt that thicker edge would give me a larger target for my bottom and deck fastenings. As it was, I missed a couple anyway.....thank heavens for epoxy. So I made a series of relief cuts on the inside edge of the planks, about every foot, to limber up the side planks a bit...about one quarter inch deep. Later I filled these with epoxy and PL-Premium, so its probably about as strong as the original, which is WAY overkill. Only used such thick planking stock for convenience. The boat ended up heavy, but I considered it a trial run for the concept, and will build a prettier and lighter at some point in the future. The rocker cuts of the side plank were planed smooth and perpendicular. The bottom bevel is planed on after the sides are on the molds. The bevel does not roll, but its just easier to sight across with a straightedge at that point.
The bottom and decks were got out of 1/4 inch, waterproof-glued floor underlayment, good on one side. This boat is longer than one sheet, so Payson-style glass butt joints were used, simultaneously laying up top and bottom and then clamping the works by fastening the 1-by battens right through. Note wax paper so you can get the battens off!
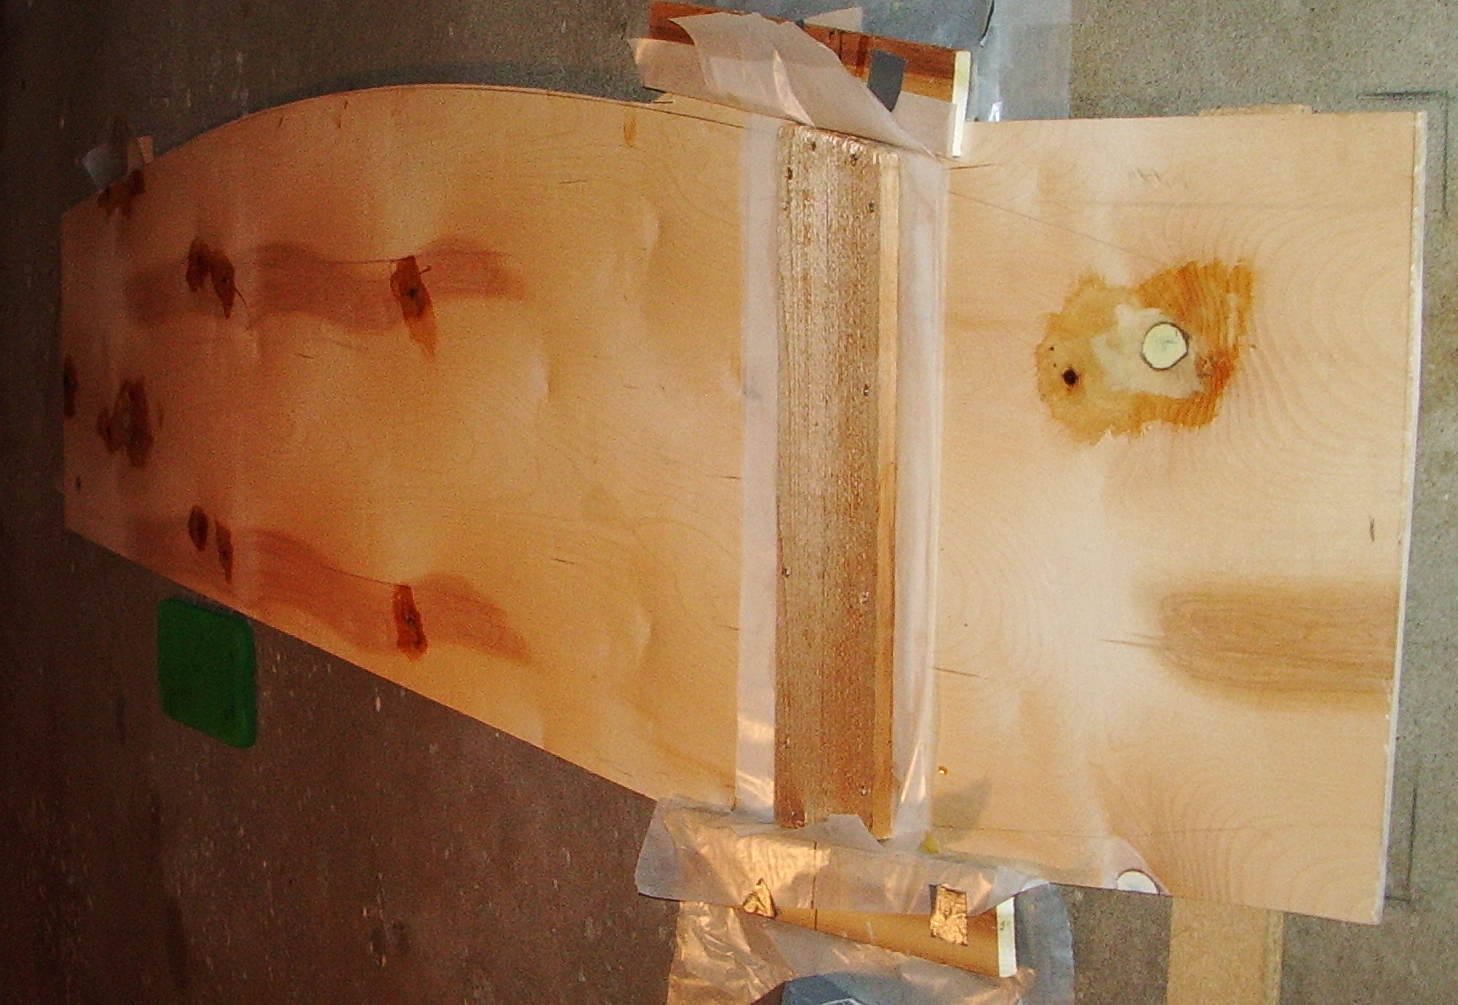
Note epoxy fill of the knotholes on the "bad" (inside) face.
Screw-and-glue construction throughout except for that butt joint in the bottom and decks. Bottom and deck fastenings were 1 inch galvanized deck screws througout, pre-boring with a fuller countersink. PL-Premium Polyurethane Construction Adhesive used for glue. Love the stuff! Simple, cheap tubes, very easy to work and clean up. I like how it expands just a little, rather nice to know if you might have a glue-starved spot.
I once saw a kayak on display in La Crosse that had some gorgeous duck-feather inlays buried under clear epoxy. I attempted to replicate what I saw, but it did not come out nearly as good as what I had seen. The feathers wetted out from the epoxy and much of the color disappeared. That fellow must have fixed the feathers first in something so the epoxy would not wet them out. I chiseled inlays for the feathers into the main beam:
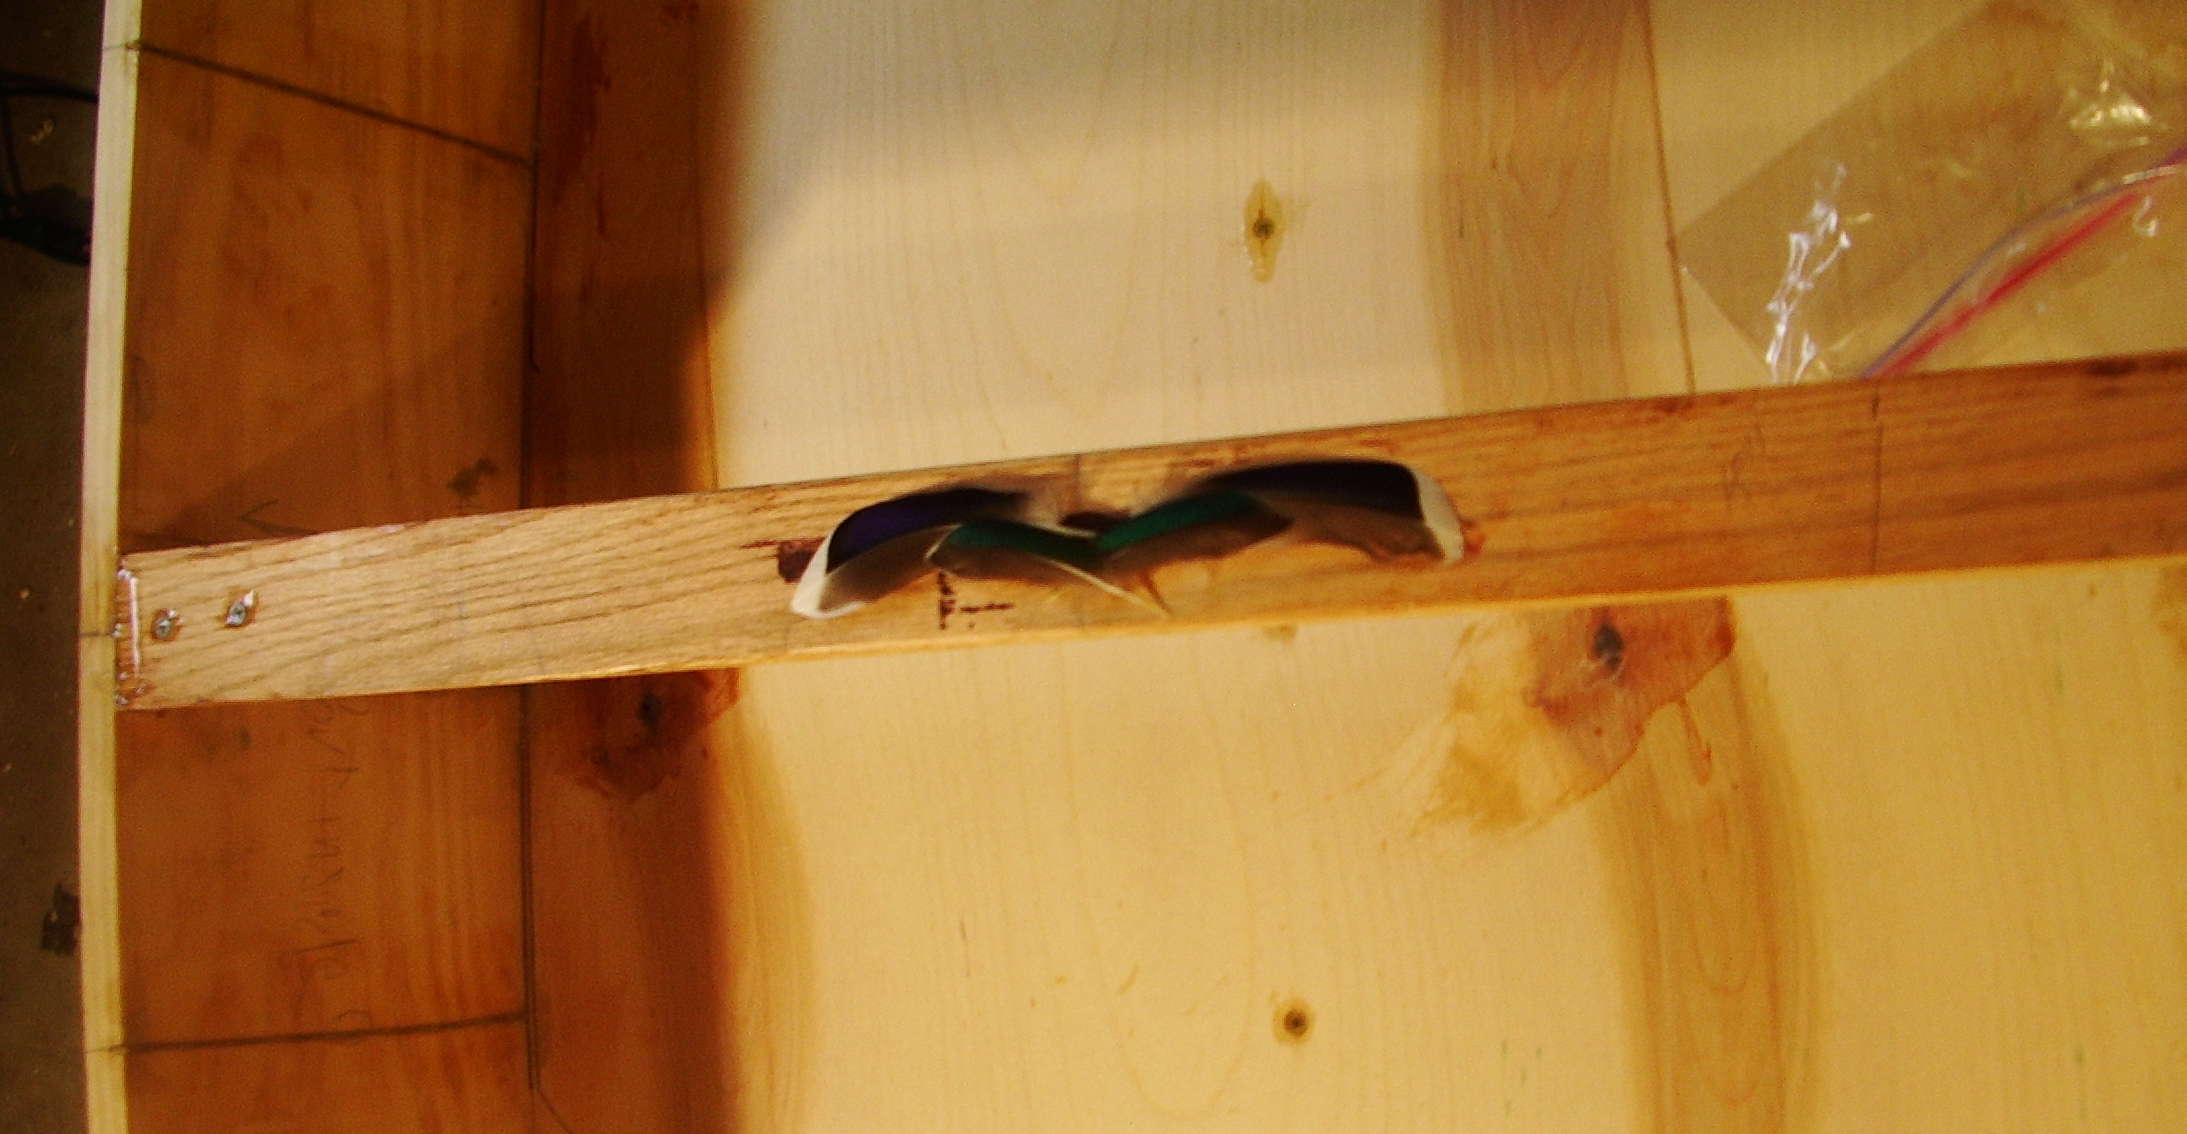
Then gooped on lots of epoxy to bury the feathers. You can see the vertical relief cuts on the side planks in that photo.
Outside edges were radiused and a layer of 6 oz fiberglass tape applied with System 3 epoxy for abrastion resistance.
Side deck width amidships is determined by the spread of my hips/thighs while paddling (with gear on), so I can wedge in. As I recall that was about 15 inches, which left about 6 inch side deck widths. At the ends of the cockpit I tapered that side deck width to half that (arbitrarily, but it worked out about right). Coamings added, lots of sanding and she is ready for 3 coats of Parker Duck Boat Paint:
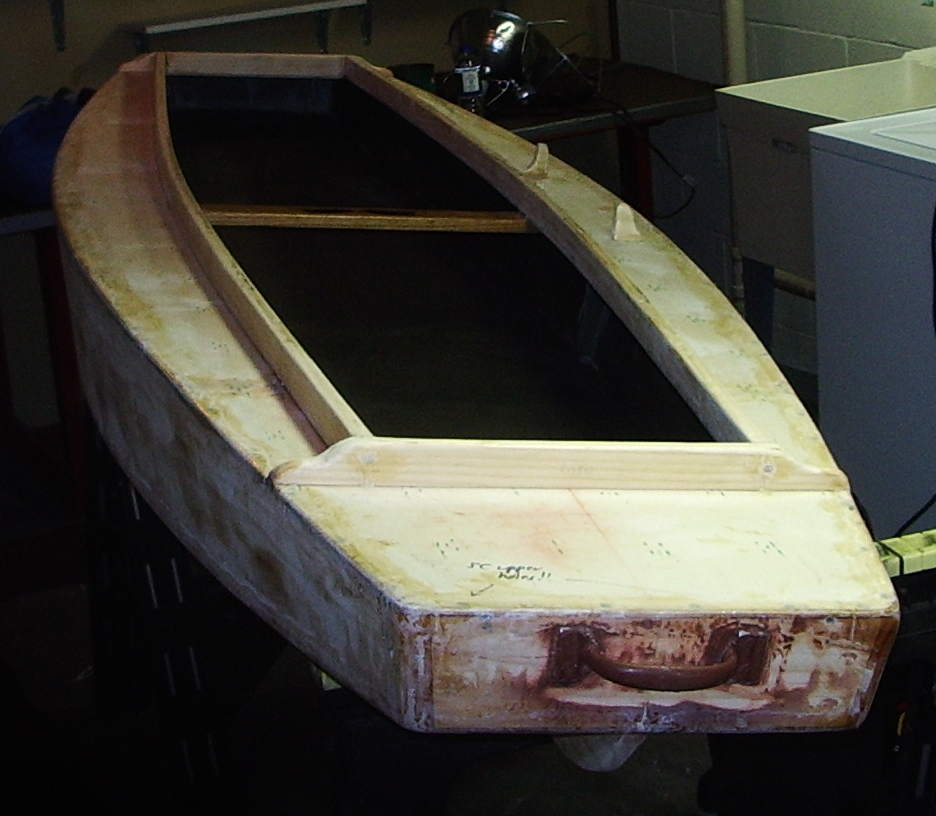
Large extruded door handles from the local Hardware Hank add a utilitarian touch. These are big enough to carry the skiff with your gloves on, and VERY firmly attached. I filled the voids of the extruded handles with PL Premium....looks like they would not last long otherwise.