instructor of Boat Building I class, helping out.
Katy McKerney
|
instructor of Boat Building I class, helping out. |
We decided to pick our own stitch and sew kit design, although we really didn't know what stitch and sew meant exactly. We imagined that all we had to mostly do was.. stitch and sew grab our paddles and away we go. Super..when do we start?
With maybe oh..at the outside..an hour of research (and someone said they saw a Pygmy and it looked real neat and real wooden-Ed Sasser's almost exact words) we decided to buy Pygmy Goldeneye kits from Port Townsend, Washington at $600.00 per kit (gulp).
 |
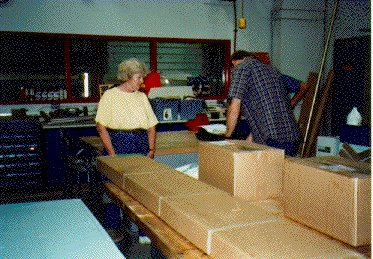
Apprehension was replaced by serious concentration as we spent our first 4 hours of kayak building trying to read the kit design directions and figure out which hull panels went together in order to join them with butt plates. Why do they call them butt plates? We never did figure that one out.
 |
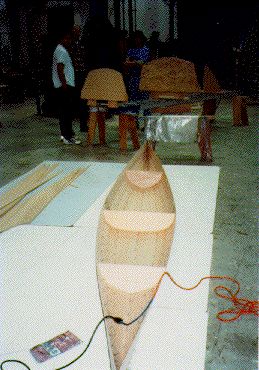
Joey and I sitting in our kayaks | 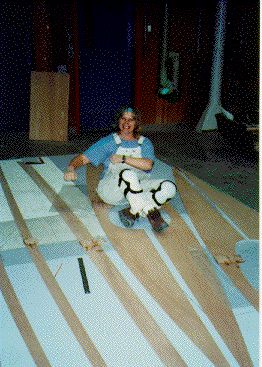 |
 |
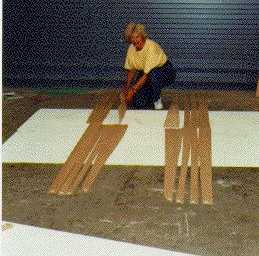
Here, Joey is gluing the butt plates over the seams. |
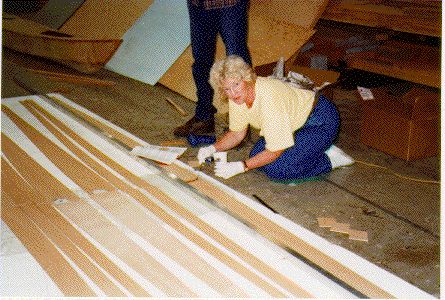
| Every six inches, 1/16 inch holes had to be drilled along
the upper edge of each of the hull planks except the sheer.
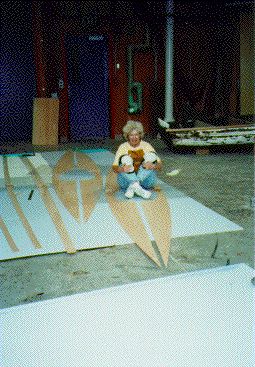
Assembling the hull involved wiring the two keel panels together and then gluing in temporary frames. Then we cut a bunch of wire into 3 Ẅ" lengths and inserted them into the drilled holes and twisted the wire ends. |
 |
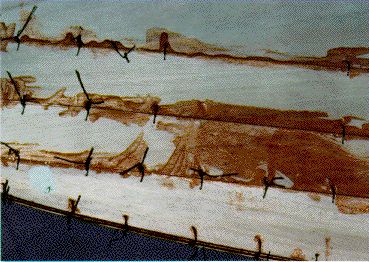 |
This is where stitch and sew boat building gets its name. Our fingers got pretty sore after doing all the panels. Hey, no one told us we'd get SORE building a kayak! |
Contact: Fritz Funk (fritzf@alaska.net)