| Tim's Storm Petrel - Construction Photos |
|
|
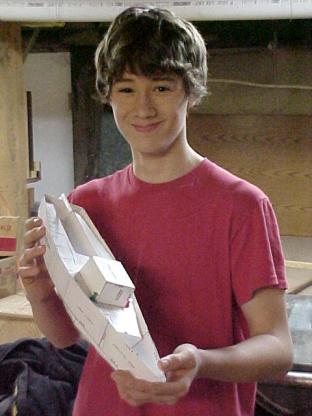
First step in building is making a model...in this case, full-size photocopied plans were spray-glued to posterboard, then all parts were cut out with scissors (including butt blocks!) and assembled with glue and tape. The posterboard model is amazingly strong. |
|
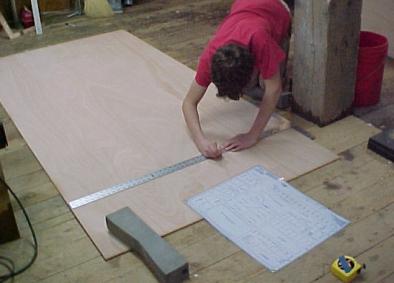
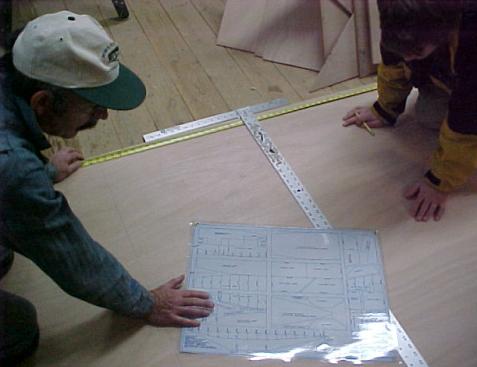
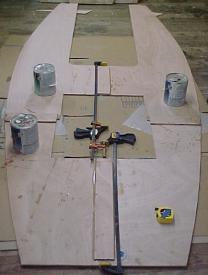
Marking stations for the side panels (Jan. 10, 2004) |

|
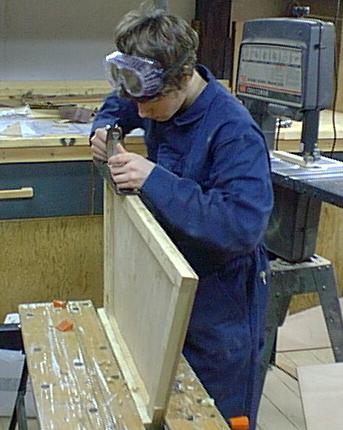
Springing a batten around the aft side panel bottom rocker curve. |
|
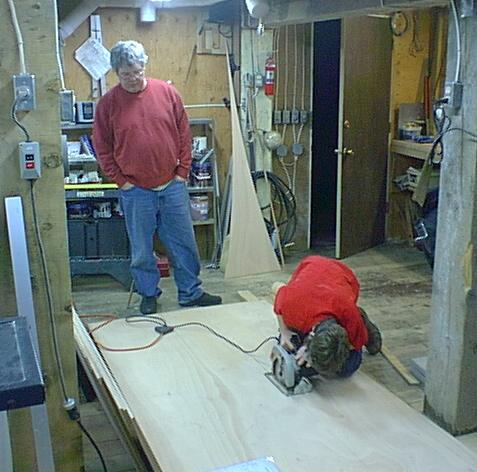
Cutting the aft side panel bottom rocker curve with Skillsaw with one of Dave Carnell's Matsushita blades, with Dad looking on. (Jan. 10, 2004) |
|
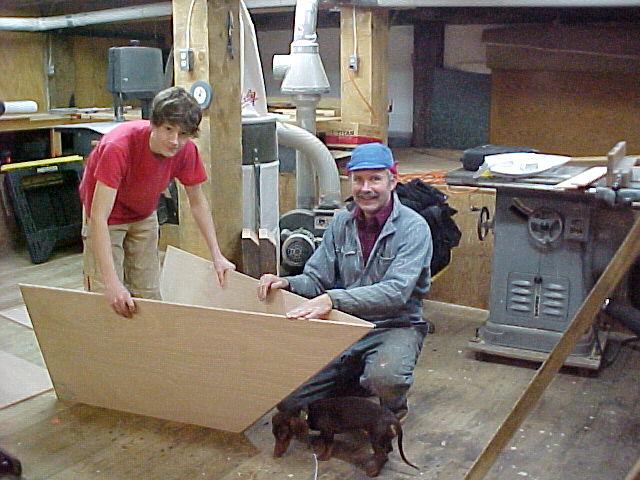
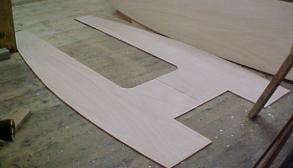
Boomer inspects the completed bow panels.... |
|
Forward deck panels (Jan. 15, 2004) |
|
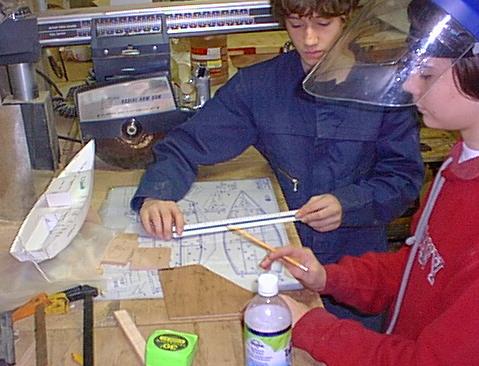
Puzzling over the bulkhead on the plans. 1,12,7 .... feet, inches, eights... measure twice, cut once! (Jan. 17, 2004) |
|
Framing the midships bulkhead. After applying Gorilla Glue (liquid polyurethane), bronze #14 X 1 inch ringnails are used to fasten the framing through pre-drilled holes (to lessen nail flyback risk and ease pounding of the beefy ringnails through the stiff okoume). Framing corner joints are mitre-cut on a chop saw. (Jan. 18, 2004) |

|
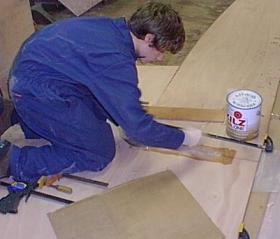
PL Premium Polyurethane Construction Adhesive was used for most of the bulkhead framing, as here on the transom (Jan 28, 2004). |
|
Planing and cutting side and bottom bevels on bulkheads and transom (2/1/04). Combination of hand plane, table saw, radial arm saw, and radial arm disc grinder were used to cut the various side and bottom bevels. |

|
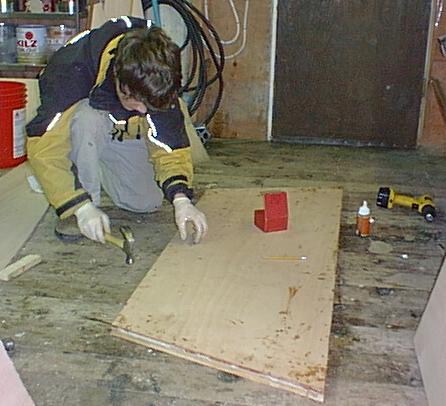
Stainless steel nails arrive!! The white box of 1 1/4 inch nails are for the Porter-Cable pneumatic nailer, with which we hope to speed the assembly process. First side butt block was fastened with this method and epoxy 2/4/04. |
|
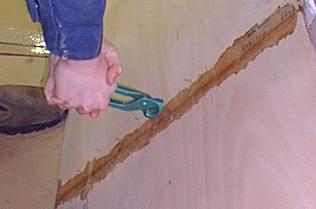
The 1 1/4 inch nails are too long for doubled 3/8ths ply of course. We drove them into 3 layers of cardboard beneath the assembly, peeled the cardboard off (after the epoxy cured) and applied the nippers to the excess fastening. Opted not to clench because this is the outside (we prefer to nail from the butt block side for better visibility in positioning the block). Nail ends were then ground down with a belt sander and will later be submerged under a layer of glass tape. (2/8/04) |
|
Trigonometry time! We opted to bury the butt blocks beneath the deck, and hence need a projected measurement that Bolger does not show on the plans. The boys mad a scaled measurement of one side of the right triangle and projected it to the flared side (hypotenuse) using cosine(18 degrees) - the flare angle. Had to dig up Tim's Dad's trigonometry book for the cosine table for this one! (2/8/04) |
|
|
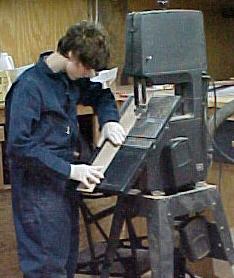
Trimming a butt block with a bevel on the band saw. Epoxy is then applied and pneumatically nailed thru the sides. (2/10/04) |
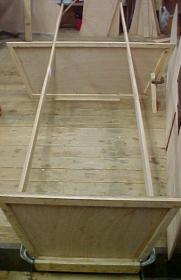
| The four deck pieces are joined with butt blocks bedded in epoxy and pneumatically nailed. Then 1x3 "girders" are let into the midship bulkhead. These will extend from the forward bulkhead to the transom, carrying loads around the hatch/cabin. (2/14/04) |
|
|
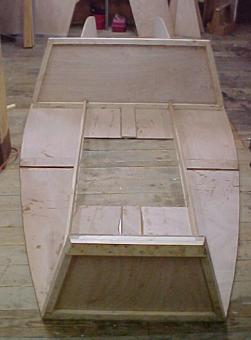
| In this unusual construction method, the deck goes down first, and serves as the alignment base for the bulkheads (molds). Bulkheads and girders are attached rightside up, then the assembly is rotated upside down for the remainder of the building process. (2/15 - 2/16/04) |
|
|
|
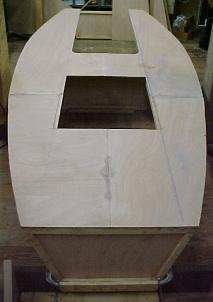
Sides and bottom are on! (3/16/04) |
Contact: Fritz Funk
