Building A Swampscott Dory
MT 254, University of Alaska, Spring 2000
Instructor: Gregor Welpton
In this class we're learning the skills required for traditional lapstrake (clinker) boatbuilding. The class project is a "12-foot, 6-inch Swampscott Dory Tender", lofted full-size from the table of offsets in Chapter 24 of John Gardner's "The Dory Book".
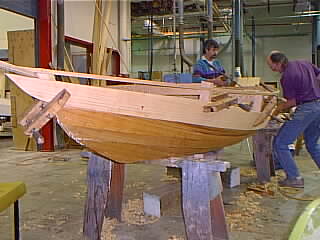
The Swampscott Dory is knuckle-sided, unlike the slab-sided Bank dories, and is built over molds comprised of the sawn frames, with additional steam-bent frames added after planking up for additional rigidity. Gardner doesn't give scantlings for this boat, but after looking at similar dories we've thus far come up with sawn white oak frames sided 7/8, molded 2 inches. Stem and 7/8 tombstone (transom) are of yellow cedar. We'll plank with red cedar, edge fastened with copper rivets.
The actual building will take place over three weekends, Feb. 19-20, Feb. 26-27, and March 4-5. Follow along and watch the progress!
Day 1, February 19, 2000:Lofting and frames
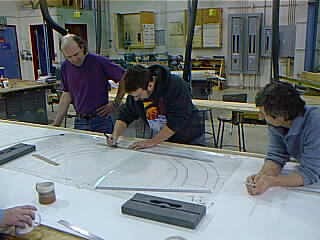
The table of offsets is lofted full size, in all three superposed views, on white plywood. Gregor demonstrates taking off the lines to a watchful audience.
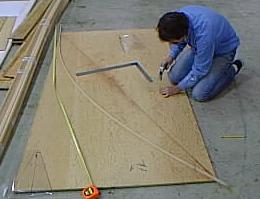
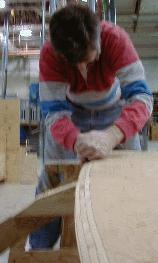
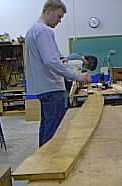
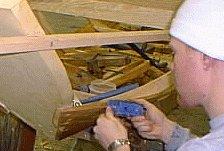
Lines are transferred to mylar, then transferred onto stock with a scratch awl.
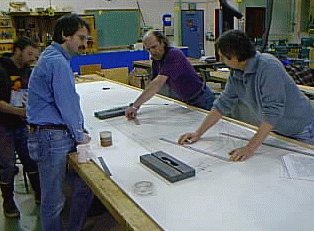
Students' turn to take off lines!
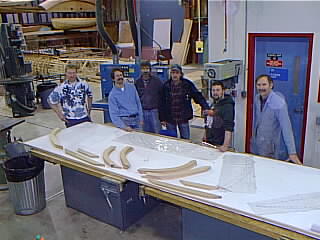
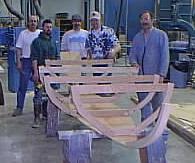
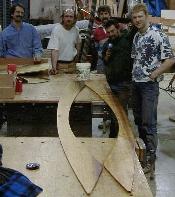
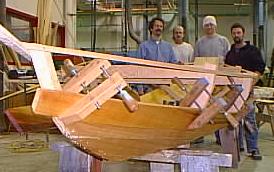
The crew at the end of day one in the shop: stem, transom, frames and floor timbers, are all cut out and beveled, ready for assembly on the ladder frame.
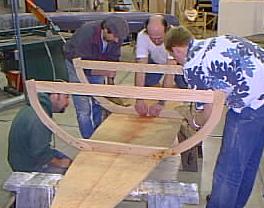
Day 2, February 20, 2000: Mold setup and horning
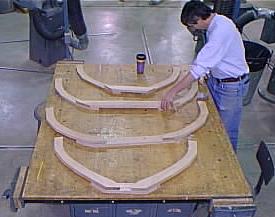
Frames are screwed to floor timbers, using the full-size lofting for alignment.
Oops! We had a little problem with some sheared fastenings...extraction time!
A cross-spall has been attached across the top of the frames
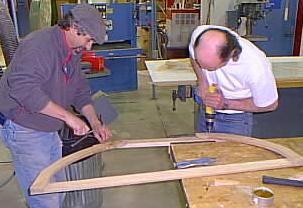
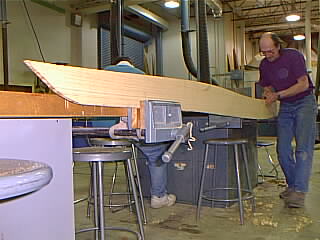
Bruce transfers the lofted bottom measurements, and fairs lines with a batten. It just fits (with a minor adjustment) diagonally on 1 sheet!! (We're using 1/2 inch fir ply for the bottom).
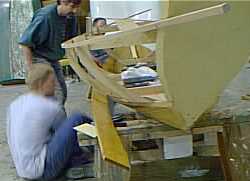
Frames are setup on the bottom
The bottom receives a bevel from the lower frame...
the transom and transom knee are fastened home...
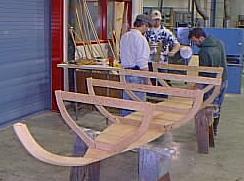
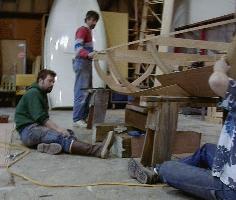
The frames are "horned" (aligned)
End of Day 2!!!!
Day 3, February 26, 2000: Final mold setup and garboards
Finishing out the bottom bevel
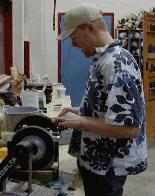
Always have to keep the cutting tools sharp!
A template is made for the garboard....
...and red cedar is milled and cut out from the template.
The matching set of garboards
Hanging the garboard strake
End of Day 3!
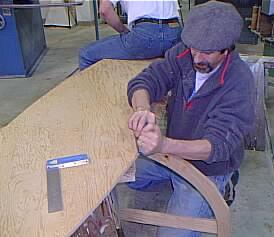
Day 4, February 27, 2000: Plank#2
Fastening the garboards
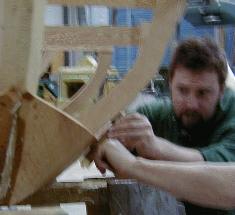
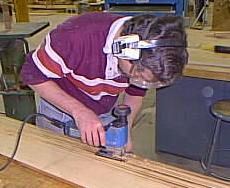
Lee planes the lap bevel on the garboard, after taking the angle off the adjacent frame.
Linseed oil is applied immediately to the red cedar plank to prevent checking in the dry air.

The hood end of the plank is rough-trimmed, then the rolling bevel of the "gain" is applied to the end of the plank.
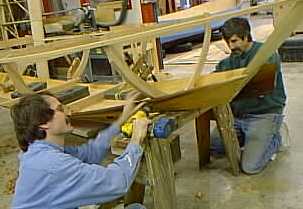
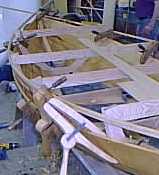
Plank#2 is sprung into place and clamped

Eyeballing the fit
End of Day 4!!
Day 5, March 4, 2000: Plank#3
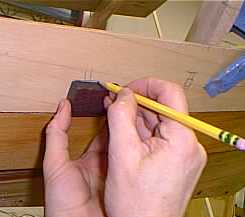
A spiling block is used to transfer the position of the next planks edges to the spiling pattern...
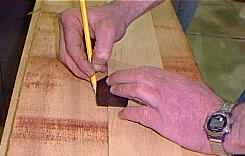
...and then the spiling block is used again to transfer the positions onto the stock for the plank.
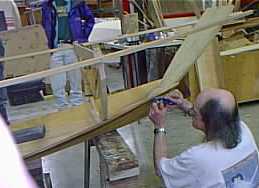
Leif cuts the rolling bevel of the "gain" into the end of the hung plank...

...and cuts a matching rolling bevel into the end of the next plank, still on the bench.
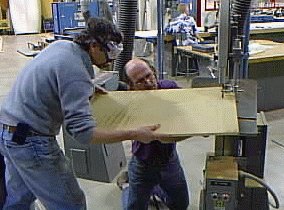
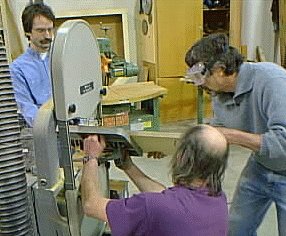
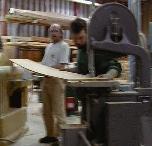
Plank 3 is cut out with the jigsaw while the bandsaw is repaired...
Plank #3 clamped into place. End of Day 5!!
Day 6, March 5, 2000 (last day): Plank#4
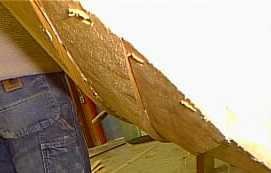
Lee dresses the edge of the strange "hourglass" shape spiled off for plank #4 ...
...but it fits!!
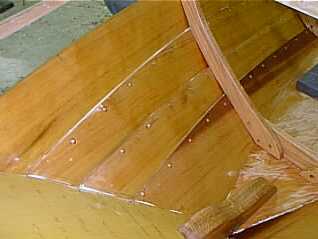
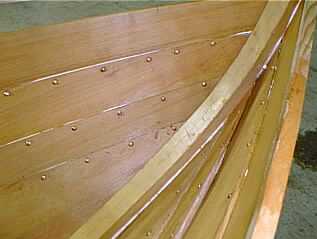
Special cam-operated "lap clamps" are used to quickly clamp the planks at the laps
The matching rolling bevels of the "gain" are used to make the laps disappear at the bow and stern ends of the planks - note the lap getting progressively narrower
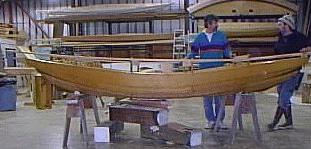
Side view...only the sheer strake left to go!
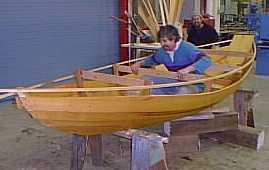
John goes for a virtual row....